Introduction
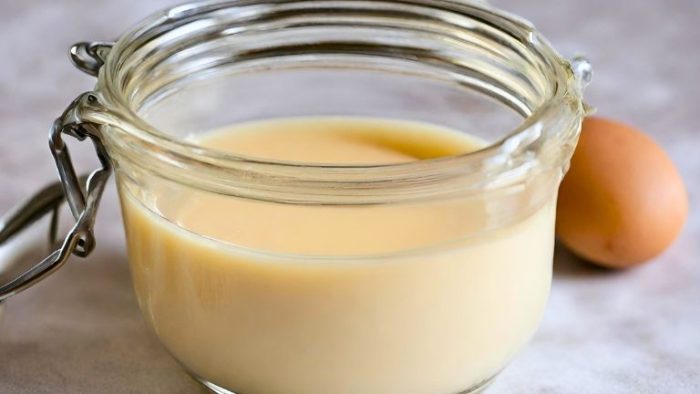
Condensed milk, with its thick, creamy texture and sweet flavor, has been a cornerstone in kitchens around the world, transforming ordinary desserts into decadent treats. Making your own condensed milk at home is not only rewarding but also allows you to control the ingredients, ensuring a healthier and more customized version than what you can buy at the store. This guide will provide you with a simple and efficient way to prepare homemade condensed milk using basic ingredients.
Historical Insight
Originally developed in the mid-19th century as a way to preserve milk, condensed milk became immensely popular due to its long shelf life and portability. It played a significant role in feeding soldiers during the American Civil War and has since become a beloved ingredient in numerous cuisines, from American pies to Southeast Asian beverages and sweets.
Ingredients List
- 1 cup of milk powder – Milk powder provides the dairy base and creamy texture.
- 1 cup of sugar – Sugar not only sweetens the condensed milk but also helps in its preservation.
- 1/4 cup of water – Water is used to dissolve the sugar and help integrate the milk powder.
- 1 tablespoon of vanilla essence – Vanilla essence adds a rich, comforting flavor that enhances the overall taste of the condensed milk.
Step-by-Step Directions to Make Homemade Condensed Milk
1. Preparing the Sugar Solution
Begin by combining the cup of sugar with 1/4 cup of water in a medium-sized pot. Heat the mixture over medium-low heat. Stir continuously to ensure the sugar dissolves completely without allowing the mixture to boil or brown. This process is crucial as it creates a clear syrup that forms the base of the condensed milk.
2. Blending the Ingredients
Once the sugar is fully dissolved, transfer the syrup to a blender. This is best done carefully to avoid splashes and burns. Blend the syrup on a low setting for about one minute to ensure it is smooth, preparing it for the addition of other ingredients.
3. Incorporating Vanilla Essence
Add a tablespoon of vanilla essence to the blender. The vanilla not only contributes flavor but also enhances the fragrance of your condensed milk. Blend the mixture briefly to distribute the vanilla evenly throughout the syrup.
4. Adding Milk Powder
With the blender running on a low to medium setting, gradually add the milk powder. It is important to add the milk powder slowly to ensure that it fully integrates into the liquid without clumping. This step is essential for achieving the smooth, creamy texture that is characteristic of high-quality condensed milk.
5. Achieving the Perfect Consistency
Continue to blend the mixture for approximately five minutes. To prevent the blender from overheating, turn it off every minute for about 30 seconds before resuming. If you notice the mixture is too thick, add two to three tablespoons of water to reach the desired consistency.
6. Storing Your Homemade Condensed Milk
After achieving a smooth and creamy texture, transfer the condensed milk to a glass jar. Allow it to cool at room temperature before sealing it and storing it in the refrigerator. Properly stored, your homemade condensed milk can last for several weeks, ready to enhance your baking recipes or sweeten your beverages.
Conclusion
Creating your own condensed milk at home is a simple and satisfying process that not only saves money but also improves the quality of your desserts and treats. By following these detailed steps, you can produce a versatile ingredient that is free from the additives and preservatives found in commercial versions.


